Here, let us see how to install Oracle 9i. It comes with 3 CDs.
This process will be assisted by a few images that give a more clear picture.
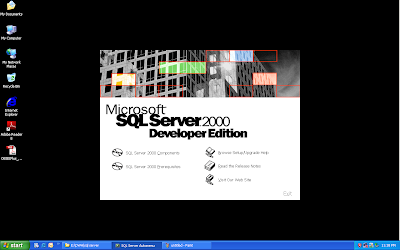
First, insert the Oracle 9i CD-1 into the CD/DVD drive.
It should automatically starts and displays the initial screen

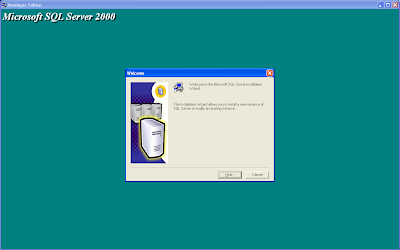
The next screen looks like this...

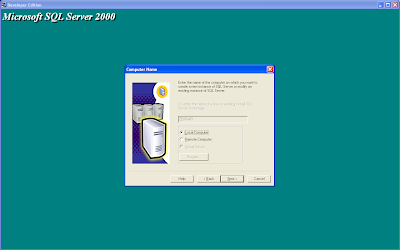
See that the Oracle Home name is given.
Try installing the Oracle 9i on a separate drive(partition). In case of a failure in Oracle 9i installation, you can format the drive and go ahead with a fresh installation.

Choose the Database to install.

Select the Enterprise Edition option.

Choose the database type needed.
You could choose either General Purpose or Data Warehousing.

Provide a Global Database Name. The same is for SID (Oracle System Identifier).
You can give something like ORCL or ORACLE.
This is also called as Host String, Connect String.

Just select the default location for directory for database files.

Choose a Database Character set. Selecting Unicode would be perfect for almost all purposes.

Here is the summary of what is about the get installed.
216 products get installed, by default.

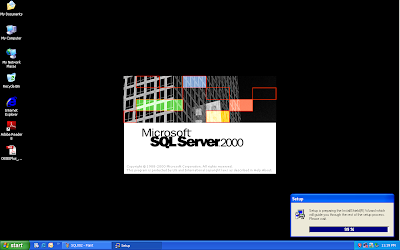
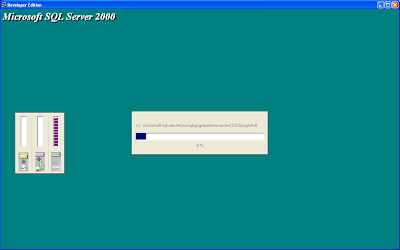
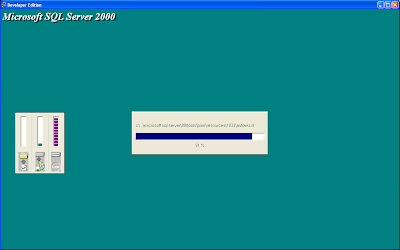
Installation starts...

@ around 44%, you will be prompted to insert the CD-2.
You just need to select the stage folder in the CD.

Asking for the CD-3...
Even here, select the stage folder.

Once the 100% is up, the installation of 4 configuration tools. This is optional. The screen shot shows this.

Database creation starts here.

Creating the Oracle instance here

Almost finished...

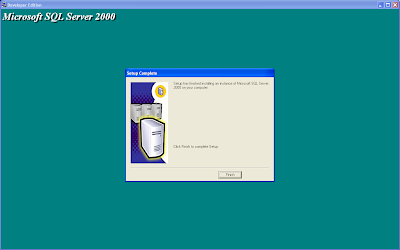
Now we are done with the installation.
Just make a note of the user names & passwords.

Installation of configuration tools is also done.

The END!!!

Restart your computer and Try connecting to the Scott/Tiger User(Schema) using SQL* Plus.
Correct me, if i went wrong somewhere.
Email me here: Sandeep.Pamarati@gmail.com


 Type in the username (System) and password (manager). Select SYSDBA as the option for Connect as. Click OK.
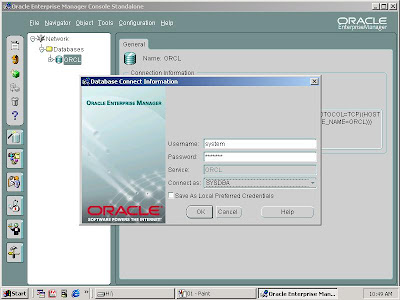 Navigate to Network -> Databases -> ORCL -> Security -> Users.


